Building an offline video classifier for human actions with Core ML
With the unveiling of iOS 14 following WWDC 2020, Apple has again updated its Core ML framework with even richer interfaces for training, running, and fine-tuning machine learning models on users’ devices. Among these improvements, neural network models can now support 3D convolutional and pooling layers, which are the backbone of many popular video classification models. Today, we’ll walk through how to take a pre-trained, off-the-shelf video classification model and get it running on iOS!
For an incredibly thorough overview of the other new ML advances for Apple platforms introduced this year, I recommend Matthijs Hollemans’ article, Apple machine learning in 2020: What’s new?.
Requirements: Xcode 12.0 beta or later
💡 Follow along with the completed Colab notebook and Swift package on Github.
⬇ Fetching the pre-trained model
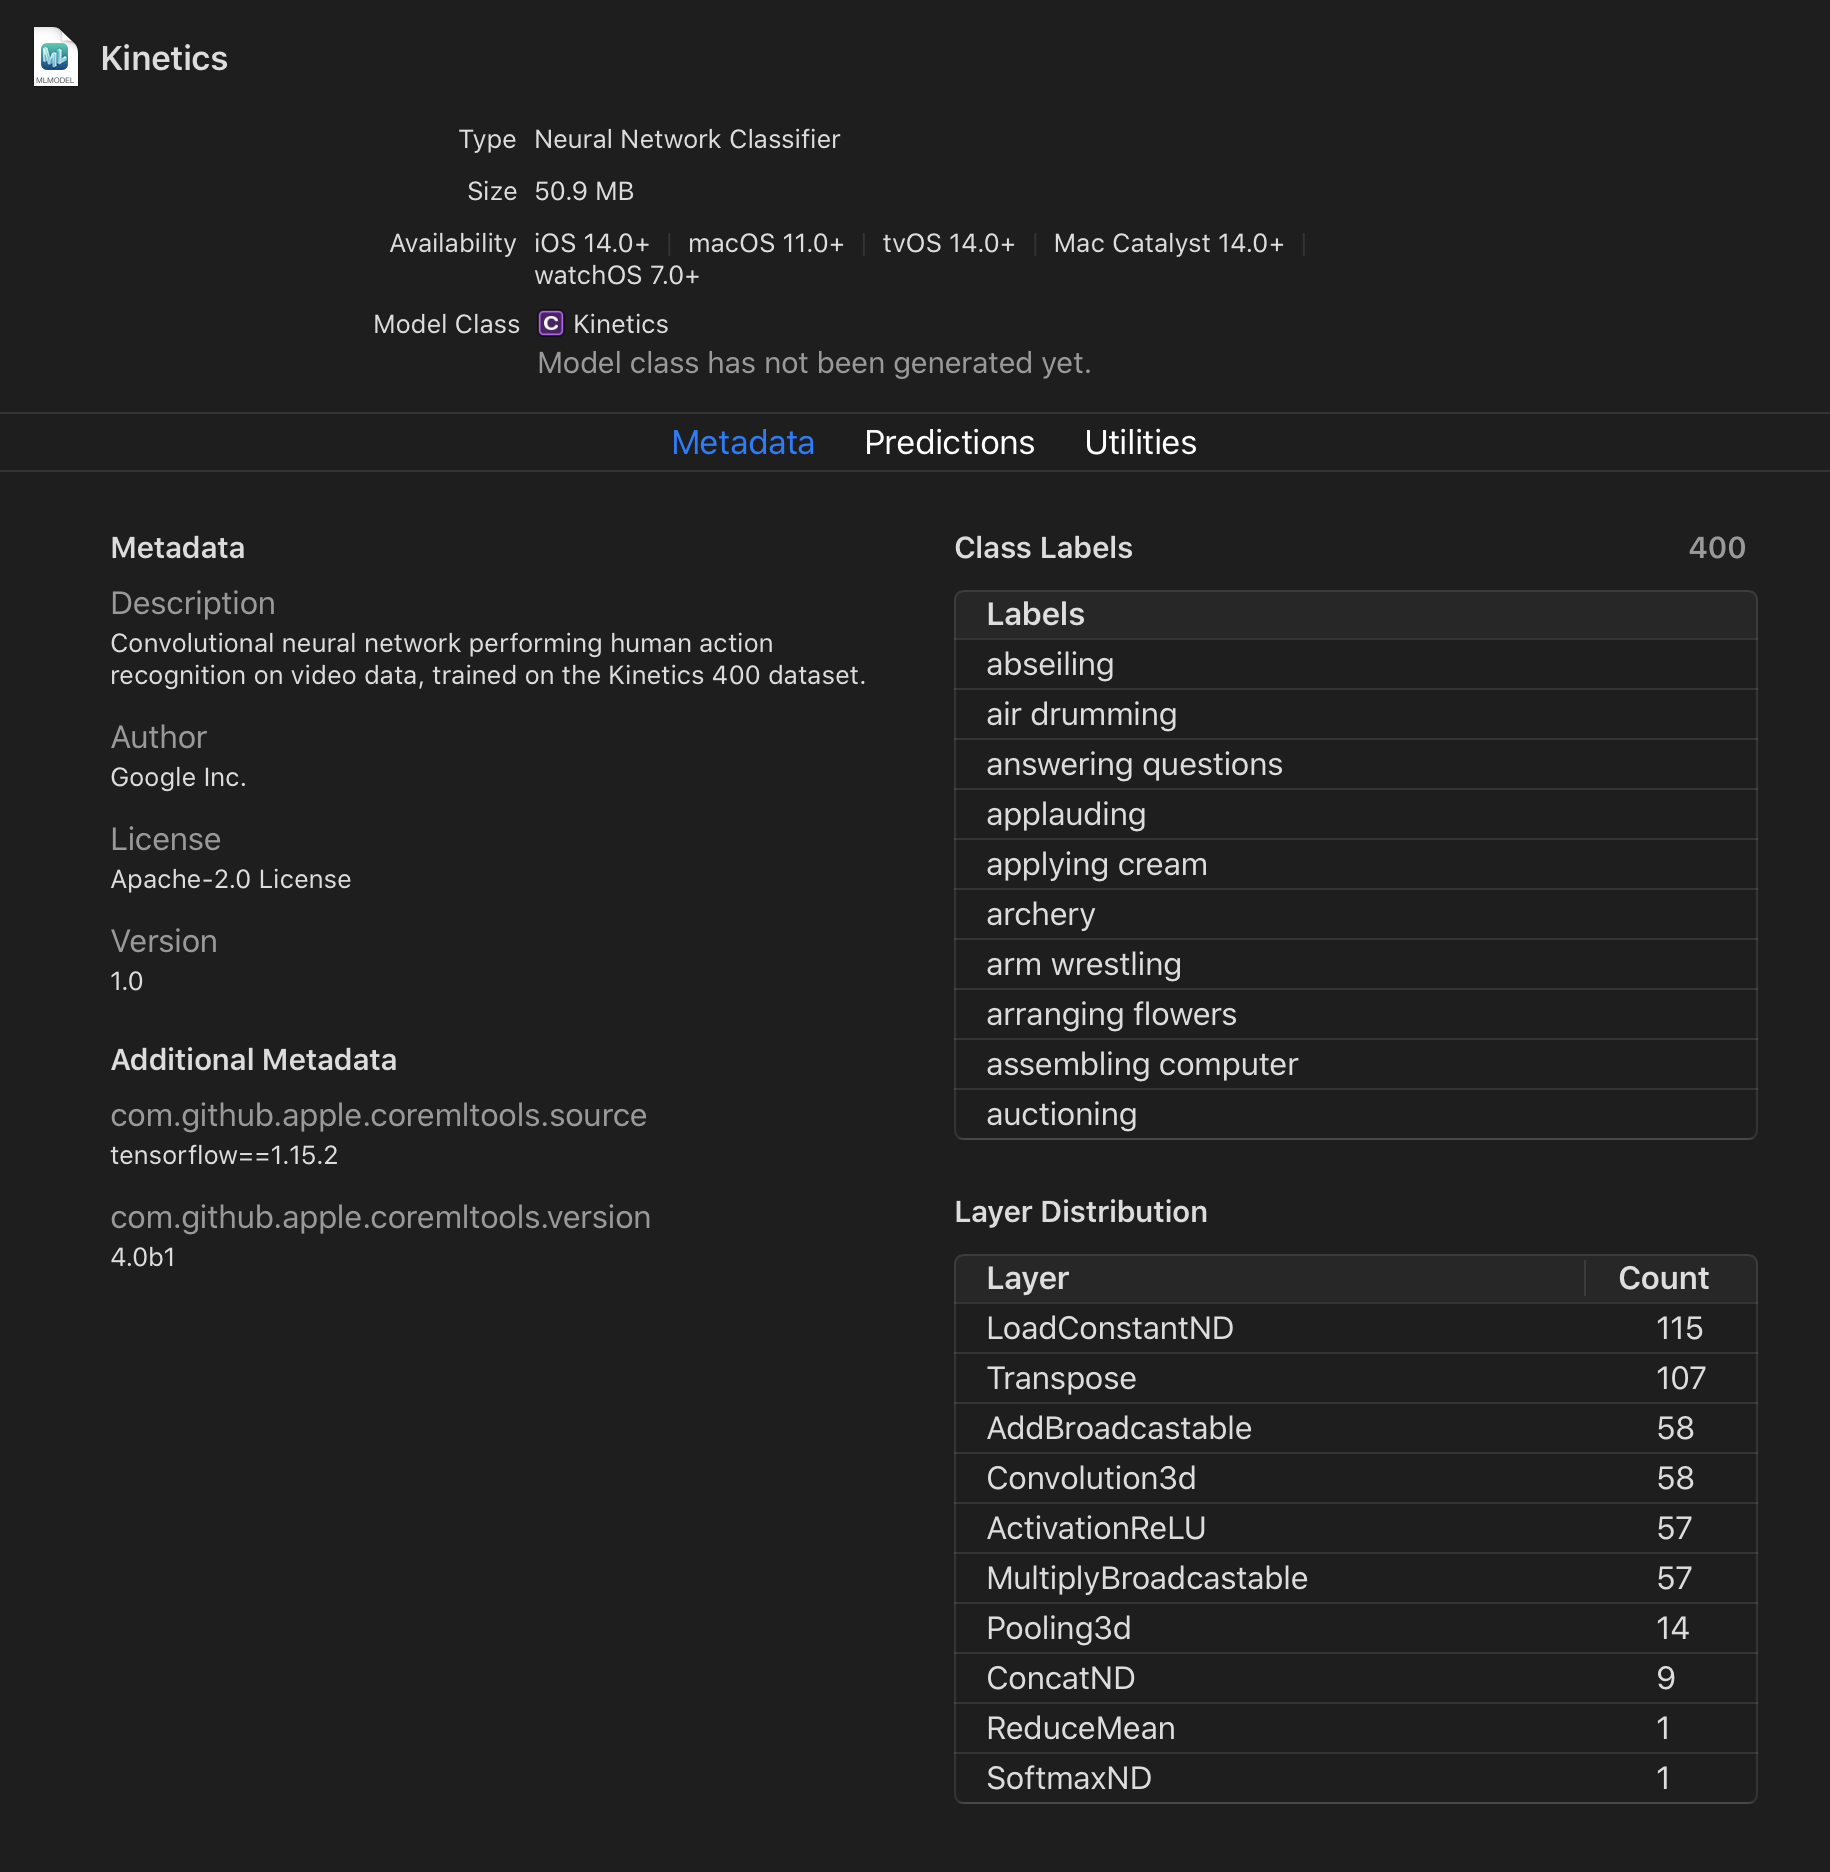
The Inflated 3D Convnet (or I3D) is an architecture created by DeepMind researchers to perform human action classification for videos. We will use the I3D model that has been pre-trained on DeepMind’s Kinetics 400 dataset. That is, given a tensor containing frames of a video, this model will output probabilities that the given video belongs to any one of 400 respective action classes (e.g. “air drumming”, “making tea”, “bench pressing”, etc).
As this is a TensorFlow model, our goal is to convert it to an MLModel that can be consumed natively on Apple platforms. To get started, we’ll open up a new Colab notebook and import coremltools, Apple’s Python library for model conversion, editing, and validation.
!pip install coremltools==4.0b1
import coremltools as ct
Next, we’ll fetch the kinetics-i3d repo and run the included sample evaluation script which loads the pre-rained RGB video classification model, performs an inference on a sample video (so we know that it’s working), and then exports the frozen TensorFlow model as frozen_model.pb.
!git clone https://github.com/lukereichold/kinetics-i3d
%cd kinetics-i3d/

!python evaluate_sample.py --eval_type rgb
Next, we’ll grab the class labels from the repo, where each of the 400 strings corresponds to a potential action in a video.
with open("data/label_map.txt") as f:
  class_labels = f.read().splitlines()

  assert len(class_labels) == 400
📲 Converting the frozen model to Core ML
Finally, we’ll use the coremltools package to convert our frozen TensorFlow model to an mlmodel that can be directly consumed by iOS and macOS applications.
The model expects a tensor of shape (1, NUM_FRAMES, 224, 224, 3), that is, an array of RGB frames, each of size 224 x 224 and – according to the model’s original specification — pixel values rescaled to between -1 and 1.
We’d like to make the number of frames dynamic, so that our model works for any video containing between, say, 25 and 300 frames. Therefore, we create a TensorType with a flexible shape that will be passed into the converter.
range_input = ct.TensorType(shape=(1, ct.RangeDim(lower_bound=25, upper_bound=300, default=250), 224, 224, 3))
Also, to make using our classifier model easier to consume, we tell the model about our explicit class labels so that these are explicitly visible within Xcode.
config = ct.ClassifierConfig(class_labels)

# This is where the magic happens:
mlmodel = ct.convert("kinetics-i3d/frozen_model.pb", source='tensorflow', classifier_config=config, inputs=[range_input])
We can also choose to add additional metadata to our model:
# Optionally, add metadata to be visible in Xcode.
mlmodel.license = "Apache-2.0 License"
mlmodel.author = "Google Inc."
mlmodel.version = "1.0"
mlmodel.short_description = "Convolutional neural network performing human action recognition on video data, trained on the Kinetics 400 dataset."
🎉 With the conversion successfully performed, we’ll save our new mlmodel to disk! It’s now ready to be imported into an Xcode project.
mlmodel.save('kinetics_i3d.mlmodel')
📦 Consuming the model with VisualActionKit
As of Swift 5.3, we’re now able to bundle resources with a Swift package, so VisualActionKit was created to leverage this new functionality by effectively acting as a convenience wrapper around our kinetics_i3d.mlmodel. It offers the following:
- Accepts an
AVAssetas input - Pre-processes the asset’s data into a format the model expects, including resizing each frame of the video to 224 x 224 pixels using the custom resizing strategy outlined in original I3D model repo.
- Builds an
MLMultiArraytensor containing the asset data - Feeds the input tensor into our model and asynchronously returns the resulting predictions.
To install this package for use in our own apps, we add the following to our app’s Package.swift.
let package = Package(
    ...
    dependencies: [
        .package(url: "https://github.com/lukereichold/VisualActionKit.git", from: "0.1.0")
    ],
    ...
)
Now, we can perform action classifications on any provided videos, regardless of the source or input format! Here’s some example usage:
import VisualActionKit

let url = Bundle.module.url(forResource: "writing", withExtension: "mp4")
let asset = AVAsset(url: url)

try Classifier.shared.classify(asset) { predictions in
    print(predictions)
    /// [(classLabel: "writing", probability: 0.9978812336921692), ...
}
And that’s it!
Outside of this specific action classification model, we can use these same steps to convert any arbitrary pre-trained model to run on Apple platforms by using coremltools v4.
Additionally, different than what we did here, if we were interested in training our own action classifier from scratch – without touching any Python or model conversion code – we also have ability to do so now. For more info, I recommend checking out the 2020 WWDC session covering Create ML. Until next time!
Referenced Resources
- GitHub - lukereichold/VisualActionKit: Human action classification for video, offline and natively on iOS via Core ML
- Kinetics-I3D to CoreML | Google Colab
- Kinetics | DeepMind
- GitHub - deepmind/kinetics-i3d: Convolutional neural network model for video classification trained on the Kinetics dataset.